Check out To Patron (Library Manager)
Library Manager provides two different checkout options – To Patron and By Homeroom – to help you track each item and ensure that patrons get the resources they need.
The instructions that follow cover how to check out copies to a patron. Learn how to check out copies by homeroom or how to hide patron's barcode on checkout and checkin.
|
Note: If you have both the Add title from search results and Check out library materials permissions, you can add permanent and temporary title records during checkout. To be able to create temporary records during checkout, you must have the Add temporary titles during checkout permission. |
Check out copies to patron
The To Patron checkout option is ideal when students come to the library individually or in small groups.
To check out using To Patron:
- Select Circulation > Check Out > To Patron tab.
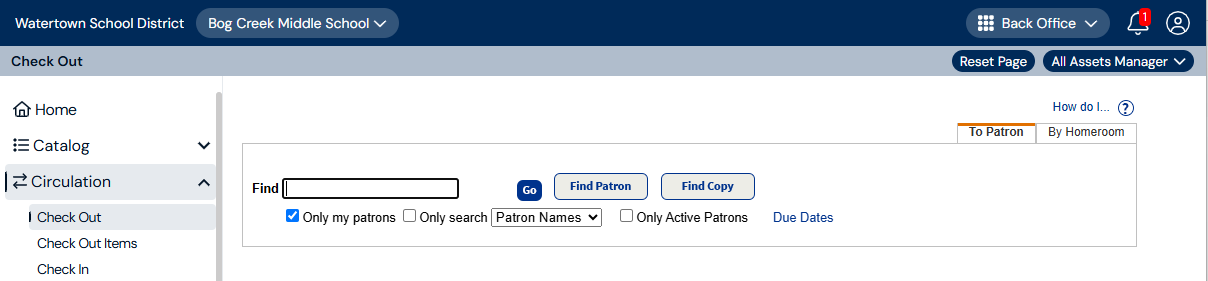
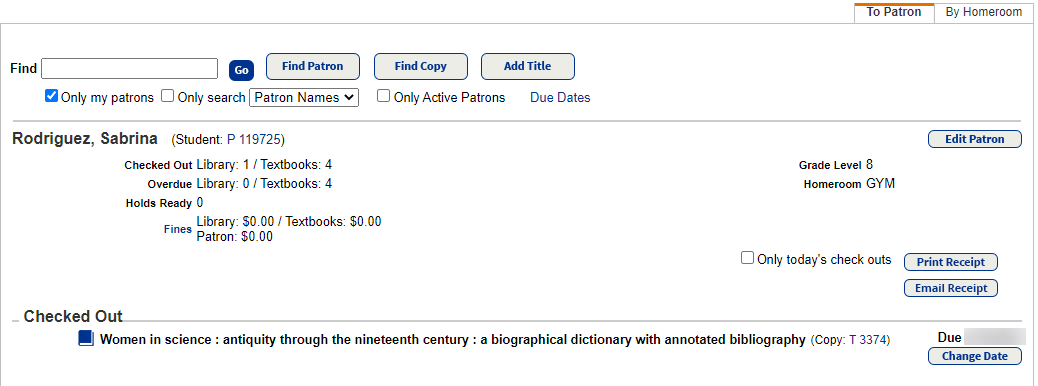
- Scan or type the patron's barcode in the Find field to search for a patron. If a list of patron appears, select the one you want. The patron information appears.
- After you select the patron’s record, scan the first item’s barcode in the Find field.
Notes:
- If a patron has fines or overdue items, or if a copy has an In Quarantine status, you will receive a blocked transaction message. Users with the Override library blocks permission can bypass the block.
- To edit the due date for the item in the Checked Out section, click Change Date. Select the new due date and whether it is for this item, this patron, or the rest of this session.
- If you want to provide a receipt, do one of the following:
- To print a receipt: Click Print Receipt to open a printable PDF.
- To email a receipt:
- Click Email Receipt, and then select the email addresses to include.
- Click Send.
To customize receipts, see Set up receipts and refund notifications.
To use the email features in Destiny, the Destiny Administrator needs to set up the SMTP mail server.
- Receipts with product-specific fine data will honor the View library fines, View resource fines, View textbook fines, and View patron fines permissions. This means users will only see associated info on the receipt. For example, users with the View resource fines permission will only be able to see resource-related receipts.
Notes:
- To clear the completed checkout and begin checking out to a new patron, click Reset Checkout.
Search for an item
To search for an item:
- Make sure the patron information already appears.
- With the cursor in the Find field, enter one or more words of the title or the subject of a title in the Find field, and click Find Copy or press Enter. All the items that match the search are listed.
- Find the correct item.
- Click the item’s title. The barcodes for all copies available to check out appear.
- Click the barcode number of the item being checked out. The item is listed in the Checked Out section of the page.
Change the due date
When a copy appears in the Checked Out section, you can change the due date.
Mark lost
To mark a copy in the Checked Out section lost, click Lost.
In Library Manager, the fine amount suggested is the purchase price from the copy record. If the purchase price is missing, the fine amount is the Max Fine from your . If you opted to have fines automatically calculated, an alert message lets you accept the fine, edit the amount, or waive it.

If you click OK, the copy will be marked as lost.
Renew
You can extend the due date by clicking Renew next to a copy in the Checked Out section.