Set profile preferences
Administrators and staff users can individually customize profile settings.
See how to:
- Select what site and/or product you want to appear upon login (including the option to set the last site or product used).
- Upload a custom district or site logo.
- Customize the district home page (Destiny Administrators only).
|
Notes:
|
To set a default site and product on login:
- Select
 > Preferences. The Preferences page appears.
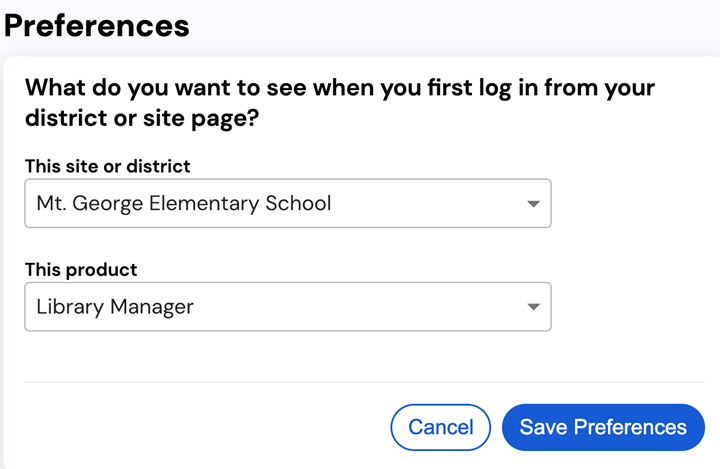
- Use the drop-downs to select your preferred:
- Default site or district on login
- Default product on login
Note: Only products available at the chosen site appear in the drop-down.
- Click Save Preferences.
To upload a custom district and/or site logo:
- Select > District & Site Settings or Site Settings (depending on your permissions). The District & Site Settings page appears.
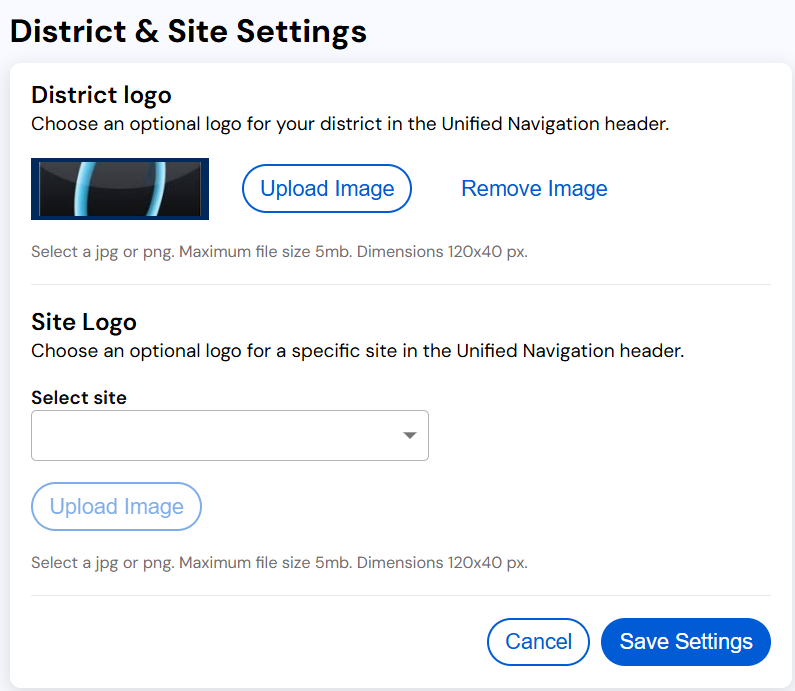
- Do any of the following:
- Under District logo, click Upload Image, and select your desired image.
Notes:
- Only district admins can upload a district logo.
- Image restrictions:
- File type: JPG or PNG
- Maximum file size: 5 MB
- Maximum size: 120 x 40 px
- Under Site Logo:
- Select a site.
- Click Upload Image, and select your desired image.
Notes:
- Options depend on your permissions.
- Image restrictions:
- File type: JPG or PNG
- Maximum file size: 5 MB
- Maximum size: 120 x 40 px
- Under District logo, click Upload Image, and select your desired image.
- Click Save Settings.
To add custom content to your district homepage:
- Log in as a Destiny Administrator.
- Select > District & Site Settings. The District & Site Settings page appears.
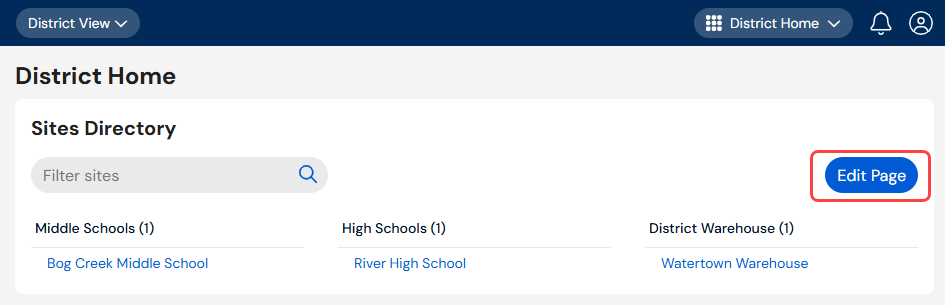
Note: You can also access the District & Site Settings page from the district homepage. Click the Edit Page button.
- From the District Home section, select the Customize district home page checkbox. A rich text editor appears.
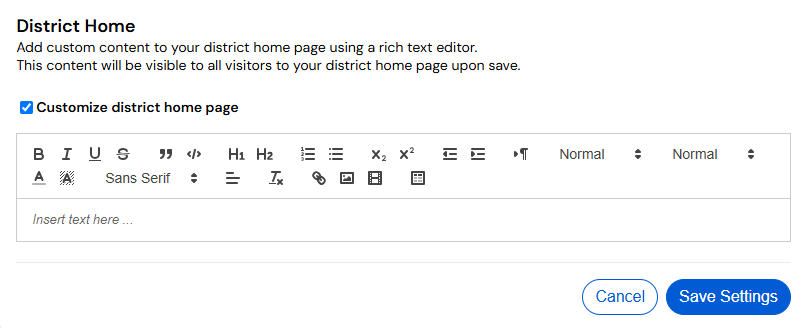
- Use the editor to add content. In addition to text, you can add links and images.
Notes:
- You can add up to 10 MB of content.
- Images can be up to 4 MB. They cannot be re-sized in the editor.
- Click Save Settings.
Custom content appears to the right of the Sites Directory.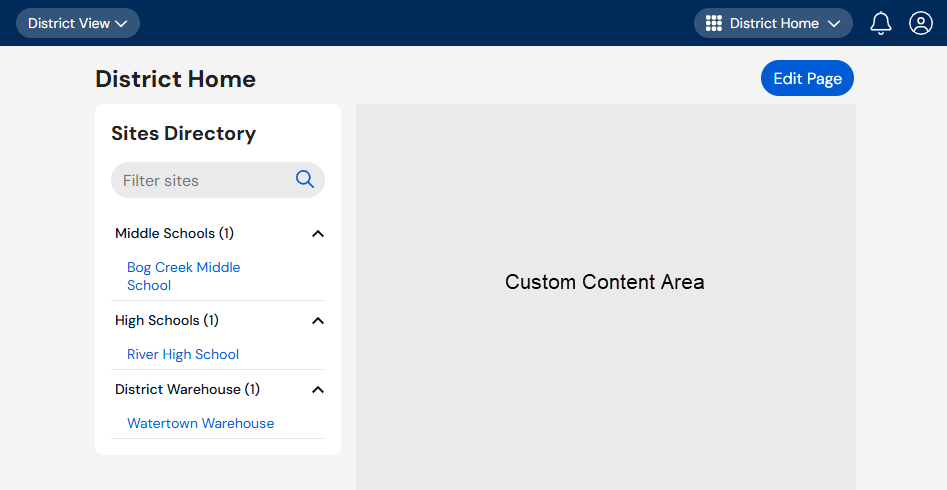
To remove custom content from your district homepage, and return to the default layout:
-
Select > District & Site Settings. The District & Site Settings page appears.
- From the District Home section, deselect the Customize district home page checkbox.
Note: The content will be saved and can be added back at any time by re-selecting Customize district home page.
- Click Save Settings.