Set up district users
A user that needs access to the entire district should be set up as a district-level user.
District permissions include managing library materials, resources, and patrons for the district; creating district reports; and accessing the district warehouse. A district user can have one or more of these permissions.
District users are typically set up during implementation, but the Destiny Administrator can add, delete, and edit district users and their permissions.
- When district-level users log into the district, they can perform district-level actions. For example, a district-level user with Create Reports for the District permission can log in to the district and create district reports.
- When district-level users also have site access, they can log in to a site and perform tasks based on the district access level assigned (from those created in District Options > Access Levels).
Add a district user
- Log in as a Destiny Administrator.
- Select the Applications menu
 > District Setup.
 - Click the Users tab.
- Enter the User Name, New Password, and Confirm Password.
Note: Follow general best practices, like using a unique user name and strong password.
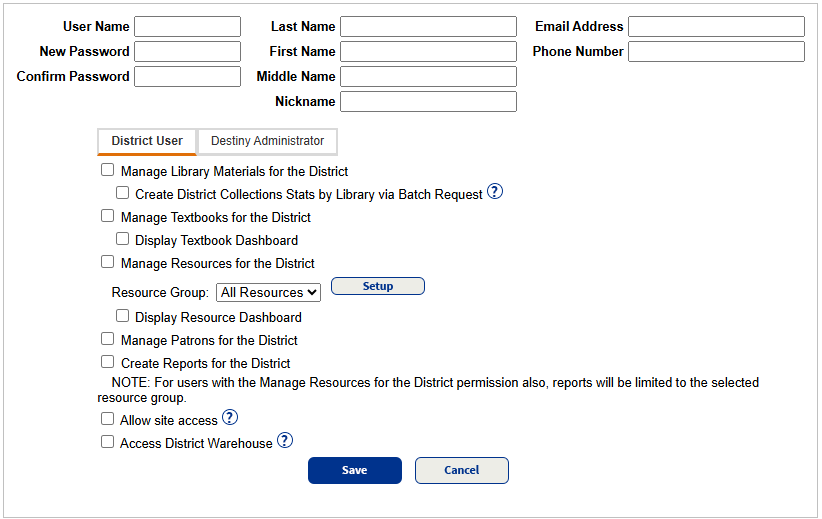
- In the Last Name, First Name, Middle Name, Nickname, Email Address, and Phone Number fields, enter the user's demographic information.
Note: In order for district users to recover their Destiny password, a valid email address must be in their record. Follett recommends using a district-approved email address.
- On the District User tab, select permissions for the user.
- Manage Library Materials for the District: A District Library Manager needs this permission. Users with this permission can search for and add titles, perform a global renew, and run preconfigured and custom district-level library reports. Access graphical library report data on the District Dashboard.
- Manage Textbooks for the District: Customers that have Destiny Textbook Manager can give a District Textbook Manager this permission. Users with this permission can search for and add textbook titles, and run preconfigured and custom district-level textbook reports.
- Display Textbook Dashboard: Access graphical textbook report data on the District Dashboard.
- Manage Resources for the District: A District Resource Manager needs this permission. Users with this permission can create and maintain the resource templates, search for and add resource description and item records, perform a global renew, and run preconfigured and custom district-level resource reports.
- Select or set up resource groups.
- Display Resource Dashboard: Access graphical resource report data on the District Dashboard. If a district user is assigned to a resource group, they can only see data for resources in that group.
- Manage Patrons for the District: A District Patron Manager needs this permission. Users with this permission can export and update patron records, add patron pictures, and run preconfigured and custom district-level patron reports.
- Create Reports for the District: A District Reports User needs this permission. Users with this permission can create preconfigured or custom district-level library, resource, and patron reports.
- Allow site access: A district user can access individual sites if they are assigned to an existing or newly created district access level.
Note: The drop-down only shows Access Levels created by the Destiny Administrator in District Options > Access Levels.
- Access District Warehouse: Customers with a warehouse license in Destiny Resource Manager can give warehouse users this permission. Users are assigned a warehouse access level and, based on that, can create and maintain resource templates, search for and add resource description and item records, run preconfigured and custom district-level resource reports, and perform inventory.
- Click Save.
Edit a district user, or reset their password
- Log in as a Destiny Administrator.
- Select the Applications menu > District Setup.
- Click the Users tab.
- Next to the user, click
 .
. - To reset the current password, do the following:
- Enter the Current Password, New Password, and Confirm Password.
- Click Clear Password.
- Update permissions as needed.
- Click Save.
Delete a district user
- Log in as a Destiny Administrator.
- Select the Applications menu > District Setup.
- Click the Users tab.
- Next to the user, click
 . A confirmation message appears.
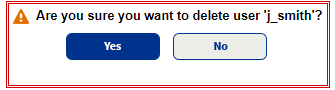
- In the confirmation box, click Yes to delete.